Check in baggage with Air Dolomiti
Air Dolomiti supports these electronic bag tag devices:
Check in baggage with SWISS Airlines
SWISS supports these electronic bag tag devices:
Check in baggage with Air Dolomiti
Air Dolomiti supports these electronic bag tag devices:
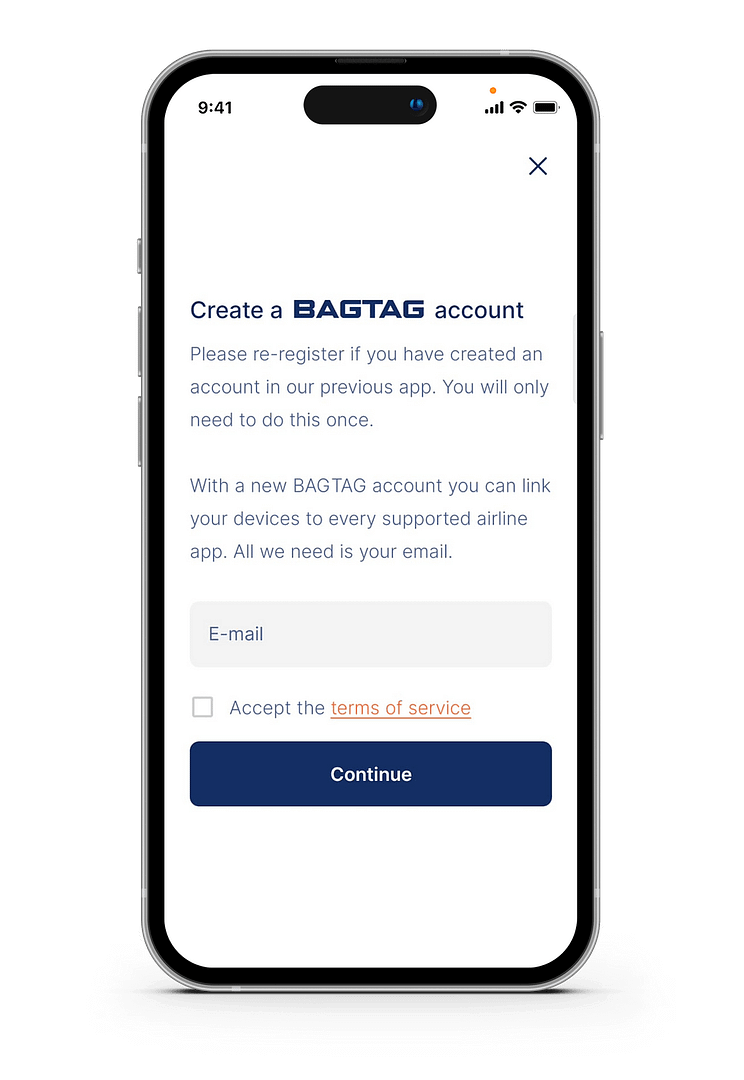
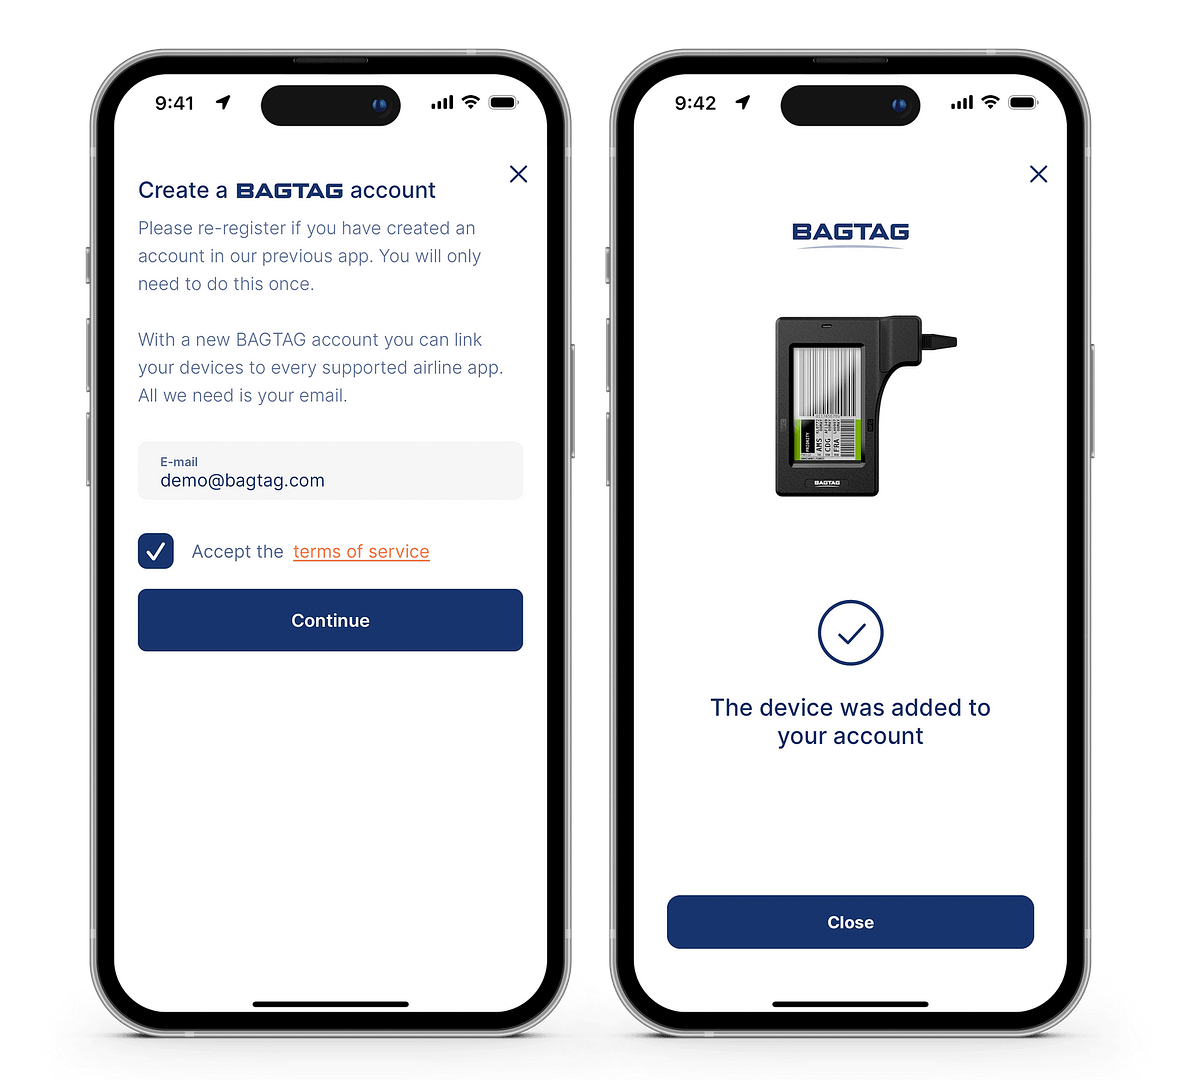
If you haven’t used the BAGTAG app before, please create an account in the BAGTAG app.
Next, add your BAGTAG device(s) to your account. Navigate to the device tab with the suitcase icon and select the ‘Add device’ option. Follow the instructions to add BAGTAGs to your account.
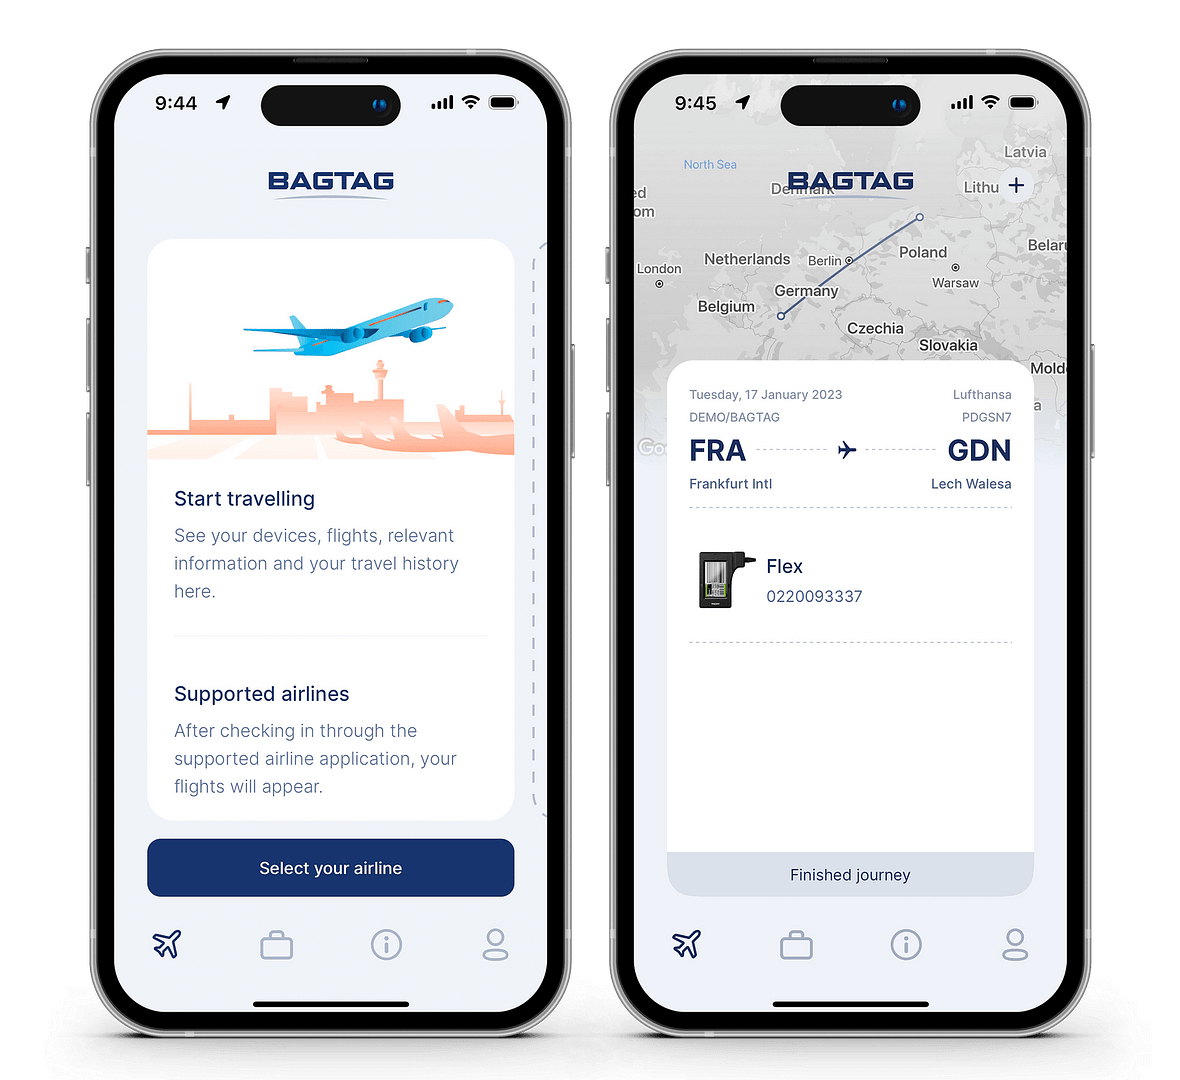
First, use the airline app or website to check in for your flight. Then open the BAGTAG app to start the process.
Starting a journey for the first time? After registering in the app, click the “select your airline” button on the app homepage.
Have you already used the BAGTAG app for a journey? Click the ‘+’ sign in the upper right-hand corner of the journeys tab, which opens by clicking on the airplane.
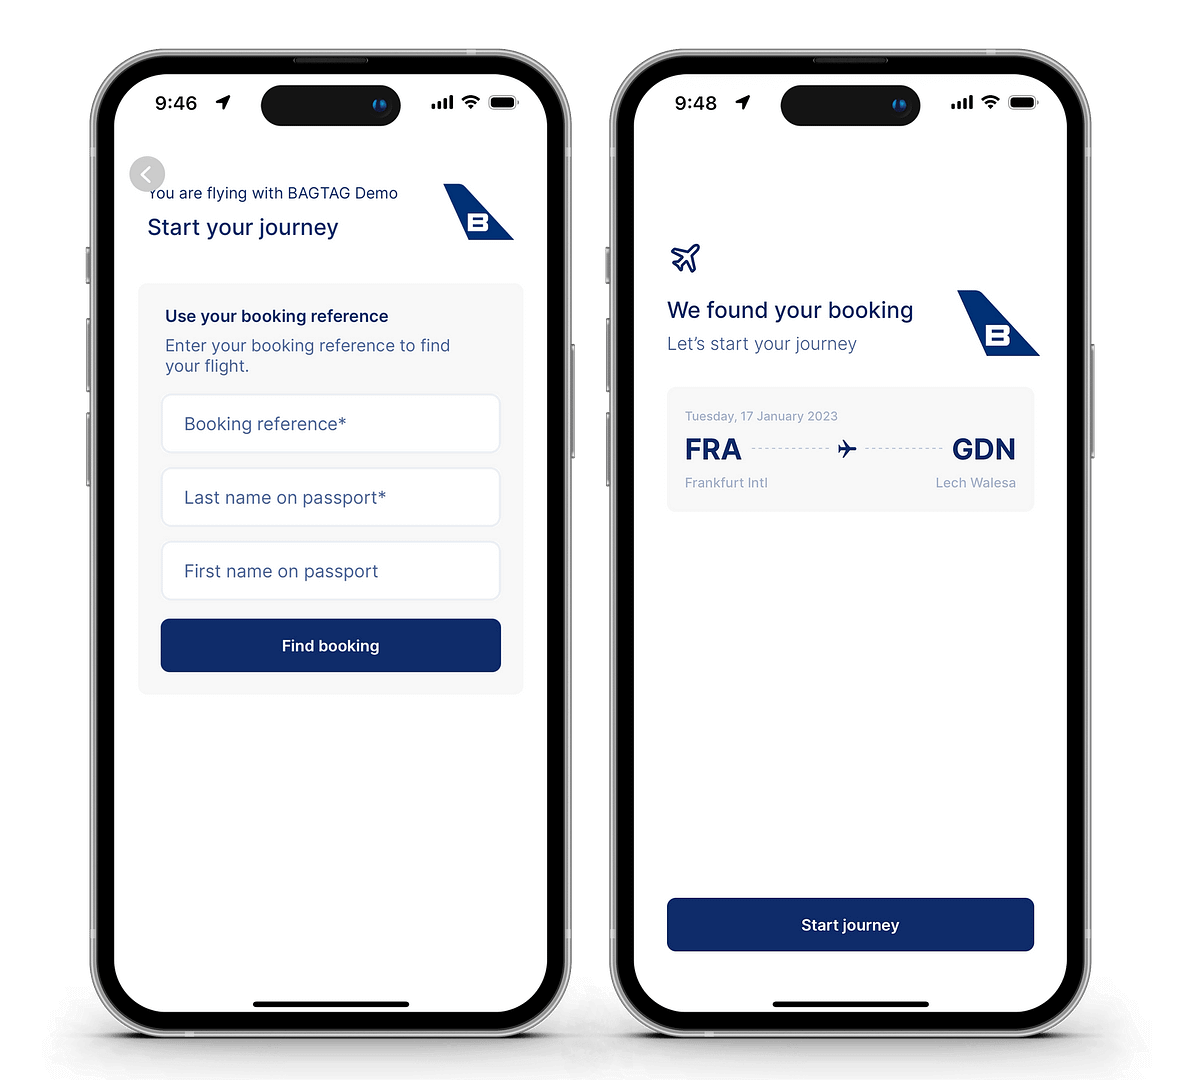
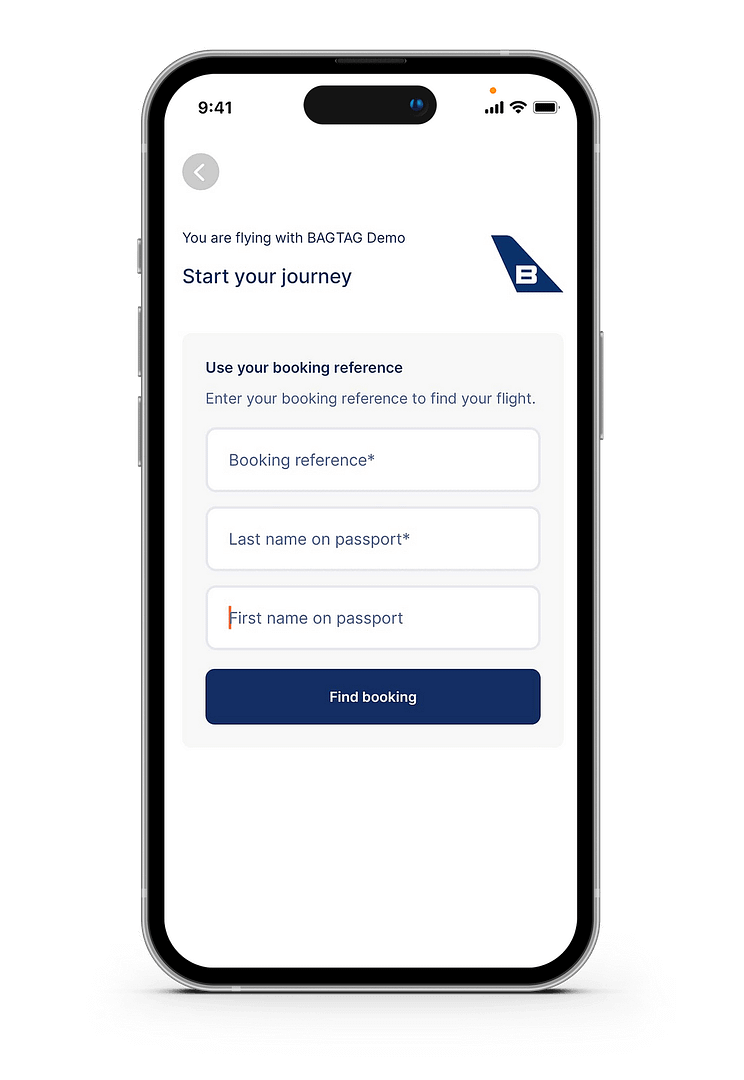
Find your booking by selecting your airline from the list. Enter your booking information to start the baggage check-in process.
Your booking reference is a series of six letters and numbers and can be found in your airline booking confirmation email.
A journey is created and you can proceed to check in baggage for your flight.
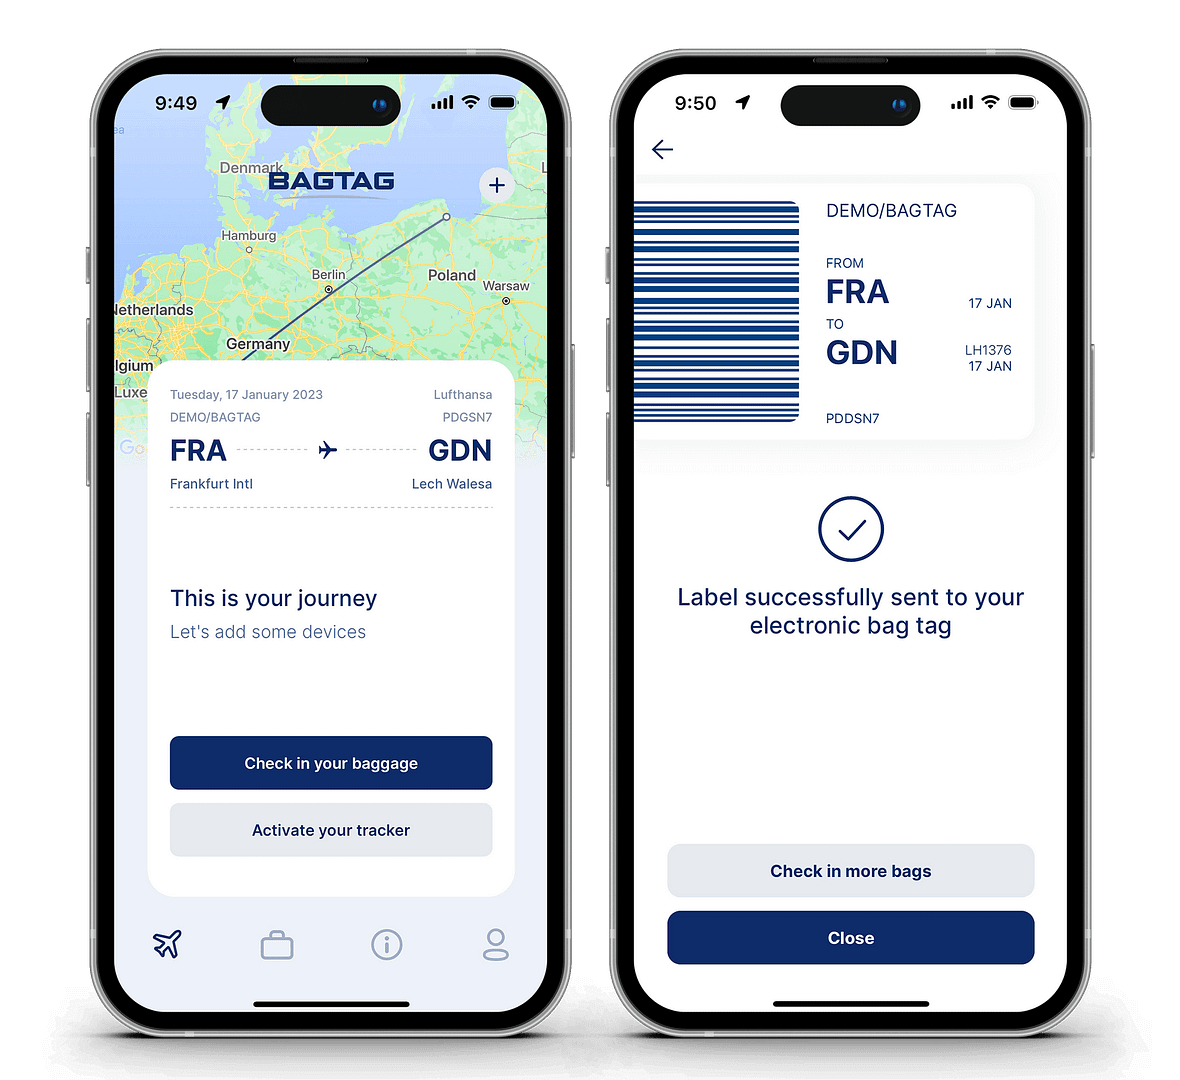
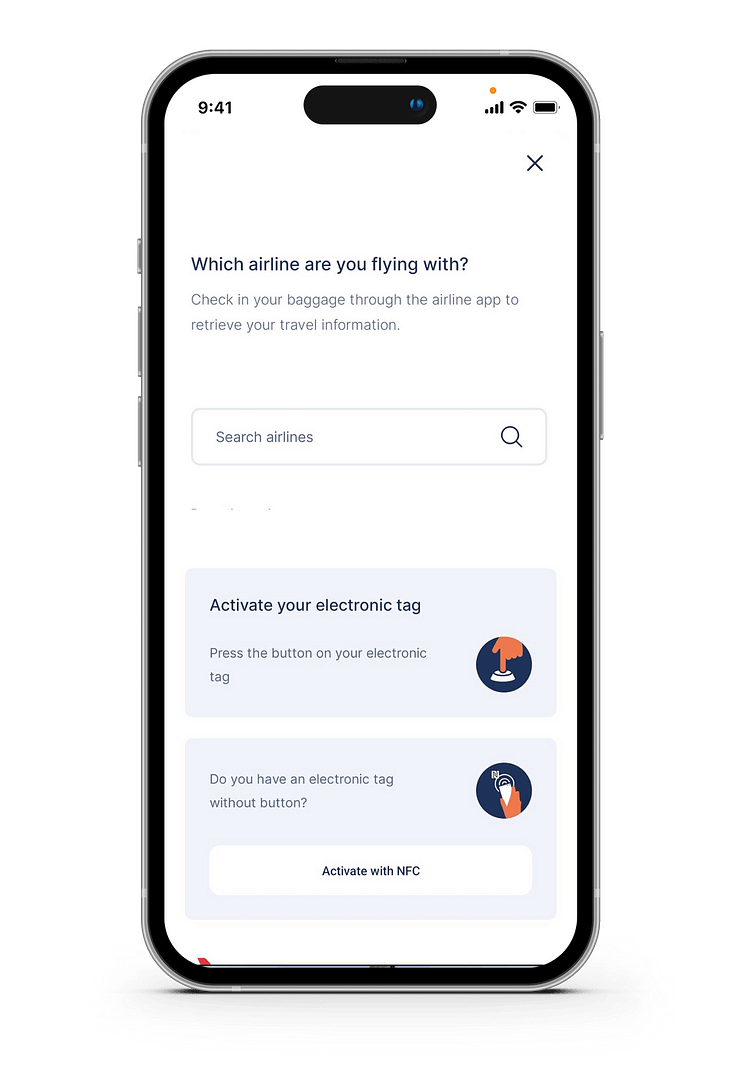
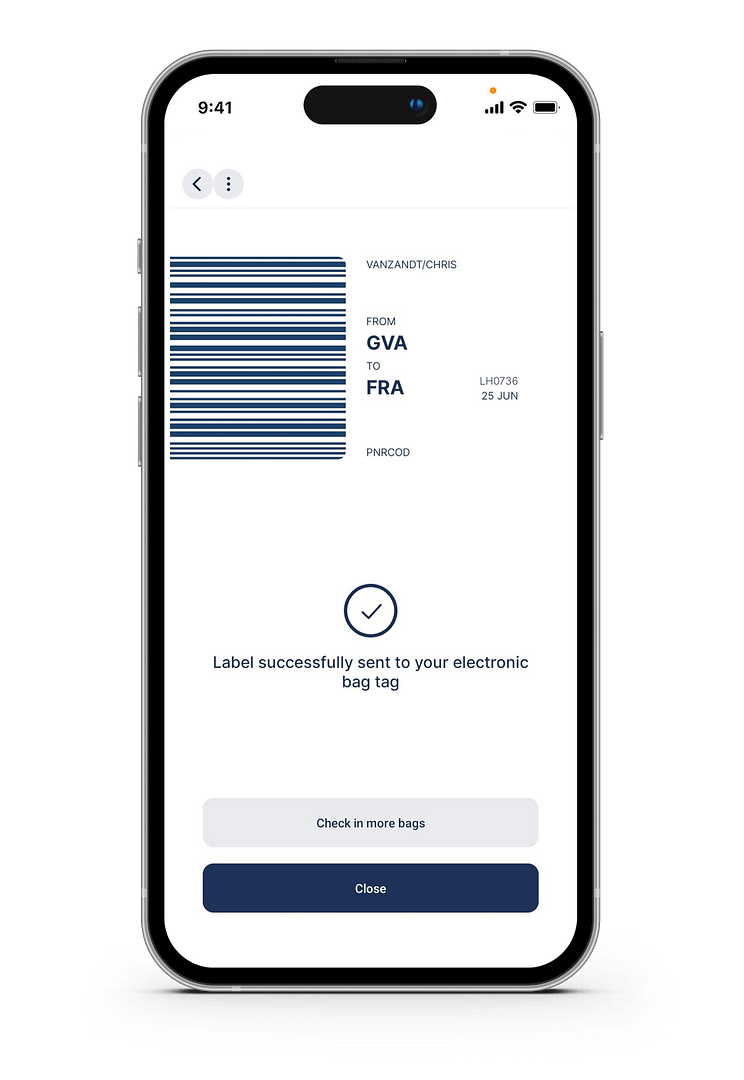
Check in your baggage and receive the electronic baggage label in the app. If the information is somehow incorrect, you can always restart the process.
The label is now ready to be transferred to the BAGTAG. Follow the instructions in the app to do so.
Please note that baggage check-in is only available from 23h before departure.
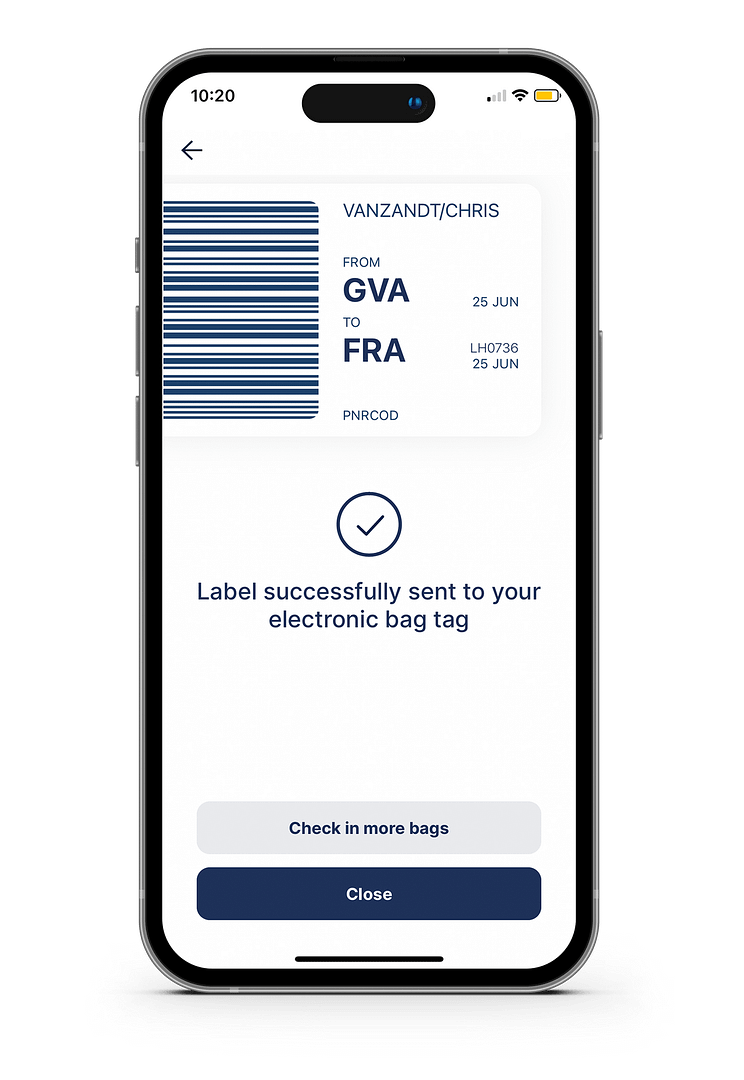

All you have to do at the airport is to drop off your baggage. BAGTAGs are accepted at both self-service bag drop machines and manned check-in desks.
If you haven’t used the BAGTAG app before, please create an account in the BAGTAG app.
Next, add your BAGTAG device(s) to your account. Navigate to the device tab with the suitcase icon and select the ‘Add device’ option. Follow the instructions to add BAGTAGs to your account.


First, use the airline app or website to check in for your flight. Then open the BAGTAG app.
Starting a journey for the first time? After registering in the app, click the “select your airline” button on the app homepage.
Have you already used the BAGTAG app for a journey? Click the ‘+’ sign in the upper right-hand corner of the journeys tab, which opens by clicking on the airplane.
Find your booking by selecting your airline from the list . Enter your booking information to start the baggage check-in process.
Your booking reference is a series of six letters and numbers and can be found in your airline booking confirmation email.
A journey is created and you can proceed to check in baggage for your flight.


You will be directed to the preceding declaration concerning the carriage of dangerous goods. You have to acknowledge and confirm this declaration for legal reasons. After the confirmation, you are guided through the process of tagging your bag.


Check in your baggage and receive the baggage tag in the app. If the information is somehow incorrect, you can always restart the process.
The label is now ready to be transferred to your BAGTAG. Follow the instructions in the app to do so.
Please note that baggage check-in is only available from 23h before departure.
All you have to do at the airport is to drop off your baggage. BAGTAGs are accepted at both self-service bag drop machines and manned check-in desks.

Please fill in your details and we will contact you.
| Cookie | Duration | Description |
|---|---|---|
| __cf_bm | 30 minutes | This cookie, set by Cloudflare, is used to support Cloudflare Bot Management. |
| aka_debug | session | Vimeo sets this cookie which is essential for the website to play video functionality. |
| lang | session | This cookie is used to store the language preferences of a user to serve up content in that stored language the next time user visit the website. |
| Cookie | Duration | Description |
|---|---|---|
| _gat_UA-102138519-1 | 1 minute | A variation of the _gat cookie set by Google Analytics and Google Tag Manager to allow website owners to track visitor behaviour and measure site performance. The pattern element in the name contains the unique identity number of the account or website it relates to. |
| _lfa | 2 years | This cookie is set by the provider Leadfeeder. This cookie is used for identifying the IP address of devices visiting the website. The cookie collects information such as IP addresses, time spent on website and page requests for the visits.This collected information is used for retargeting of multiple users routing from the same IP address. |
| ac_enable_tracking | 1 month | This cookie is set by Active Campaign to denote that traffic is enabled for the website. |
| Cookie | Duration | Description |
|---|---|---|
| _ga | 2 years | The _ga cookie, installed by Google Analytics, calculates visitor, session and campaign data and also keeps track of site usage for the site's analytics report. The cookie stores information anonymously and assigns a randomly generated number to recognize unique visitors. |
| _ga_* | 1 year 1 month 4 days | Google Analytics sets this cookie to store and count page views. |
| _gat_UA-* | 1 minute | Google Analytics sets this cookie for user behaviour tracking. |
| _gcl_au | 3 months | Provided by Google Tag Manager to experiment advertisement efficiency of websites using their services. |
| _gid | 1 day | Installed by Google Analytics, _gid cookie stores information on how visitors use a website, while also creating an analytics report of the website's performance. Some of the data that are collected include the number of visitors, their source, and the pages they visit anonymously. |
| _hjAbsoluteSessionInProgress | 30 minutes | Hotjar sets this cookie to detect the first pageview session of a user. This is a True/False flag set by the cookie. |
| _hjFirstSeen | 30 minutes | Hotjar sets this cookie to identify a new user’s first session. It stores a true/false value, indicating whether it was the first time Hotjar saw this user. |
| _hjid | 1 year | This is a Hotjar cookie that is set when the customer first lands on a page using the Hotjar script. |
| _hjIncludedInPageviewSample | 2 minutes | Hotjar sets this cookie to know whether a user is included in the data sampling defined by the site's pageview limit. |
| _hjIncludedInSessionSample | 2 minutes | Hotjar sets this cookie to know whether a user is included in the data sampling defined by the site's daily session limit. |
| _hjRecordingEnabled | never | Hotjar sets this cookie when a Recording starts and is read when the recording module is initialized, to see if the user is already in a recording in a particular session. |
| _hjRecordingLastActivity | never | Hotjar sets this cookie when a user recording starts and when data is sent through the WebSocket. |
| _hjSession_* | 30 minutes | Hotjar sets this cookie to ensure data from subsequent visits to the same site is attributed to the same user ID, which persists in the Hotjar User ID, which is unique to that site. |
| _hjSession_2459071 | 30 minutes | No description |
| _hjSessionUser_* | 1 year | Hotjar sets this cookie to ensure data from subsequent visits to the same site is attributed to the same user ID, which persists in the Hotjar User ID, which is unique to that site. |
| _hjSessionUser_2459071 | 1 year | No description |
| bcookie | 2 years | LinkedIn sets this cookie from LinkedIn share buttons and ad tags to recognize browser ID. |
| CONSENT | 2 years | YouTube sets this cookie via embedded youtube-videos and registers anonymous statistical data. |
| lidc | 1 day | LinkedIn sets the lidc cookie to facilitate data center selection. |
| ln_or | 1 day | Linkedin sets this cookie to registers statistical data on users' behaviour on the website for internal analytics. |
| tk_lr | 1 year | The tk_lr is a referral cookie set by the JetPack plugin on sites using WooCommerce, which analyzes referrer behaviour for Jetpack. |
| tk_or | 5 years | The tk_or is a referral cookie set by the JetPack plugin on sites using WooCommerce, which analyzes referrer behaviour for Jetpack. |
| tk_qs | 30 minutes | Gathers information for WordPress by themselves, first party analytics tool about how WP services are used. A collection of internal metrics for user activity, used to improve user experience. |
| tk_r3d | 3 days | JetPack installs this cookie to collect internal metrics for user activity and in turn improve user experience. |
| vuid | 2 years | Vimeo installs this cookie to collect tracking information by setting a unique ID to embed videos to the website. |
| Cookie | Duration | Description |
|---|---|---|
| _fbp | 3 months | This cookie is set by Facebook to display advertisements when either on Facebook or on a digital platform powered by Facebook advertising, after visiting the website. |
| _lfa_test_cookie_stored | past | No description |
| bscookie | 2 years | This cookie is a browser ID cookie set by Linked share Buttons and ad tags. |
| fr | 3 months | Facebook sets this cookie to show relevant advertisements to users by tracking user behaviour across the web, on sites that have Facebook pixel or Facebook social plugin. |
| IDE | 1 year 24 days | Google DoubleClick IDE cookies are used to store information about how the user uses the website to present them with relevant ads and according to the user profile. |
| li_gc | 2 years | No description |
| li_sugr | 3 months | LinkedIn sets this cookie to collect user behaviour data to optimise the website and make advertisements on the website more relevant. |
| mailerlite:webform:shown:5679428 | 7977 years 7 months 12 days 3 hours 9 minutes | No description |
| test_cookie | 15 minutes | The test_cookie is set by doubleclick.net and is used to determine if the user's browser supports cookies. |
| UserMatchHistory | 1 month | Linkedin - Used to track visitors on multiple websites, in order to present relevant advertisement based on the visitor's preferences. |
| VISITOR_INFO1_LIVE | 5 months 27 days | A cookie set by YouTube to measure bandwidth that determines whether the user gets the new or old player interface. |
| YSC | session | YSC cookie is set by Youtube and is used to track the views of embedded videos on Youtube pages. |
| yt-remote-connected-devices | never | YouTube sets this cookie to store the video preferences of the user using embedded YouTube video. |
| yt-remote-device-id | never | YouTube sets this cookie to store the video preferences of the user using embedded YouTube video. |
| yt.innertube::nextId | never | This cookie, set by YouTube, registers a unique ID to store data on what videos from YouTube the user has seen. |
| yt.innertube::requests | never | This cookie, set by YouTube, registers a unique ID to store data on what videos from YouTube the user has seen. |
| Cookie | Duration | Description |
|---|---|---|
| _hjIncludedInSessionSample_1757487 | 2 minutes | Description is currently not available. |
| _hjIncludedInSessionSample_2459071 | 2 minutes | Description is currently not available. |
| _hjIncludedInSessionSample_3587433 | 2 minutes | Description is currently not available. |
| AnalyticsSyncHistory | 1 month | No description |
| csrf_token | session | No description available. |
| prism_476065977 | 1 month | No description |
| session | 6 hours | No description available. |
| tk_ai | 5 years | Gathers information for WordPress by themselves, first party analytics tool about how WP services are used. A collection of internal metrics for user activity, used to improve user experience. |
| VISITOR_PRIVACY_METADATA | 5 months 27 days | Description is currently not available. |